Product Help
How to turn on property boundaries
Property boundaries help identify where the extent of a property begins and ends. Watch the video or read the steps below to learn how to switch on and off the property boundaries on the Landchecker map.
Property boundaries will appear by default when viewing properties in ‘Base Map’. They will be removed by default when viewing properties in ‘High-Resolution Aerial Imagery’.
1. Search for a property in the address search box
2. Select Common Layers in the left-hand side panel
3. Select the toggle for Property Boundaries to display or remove the property boundaries from the map
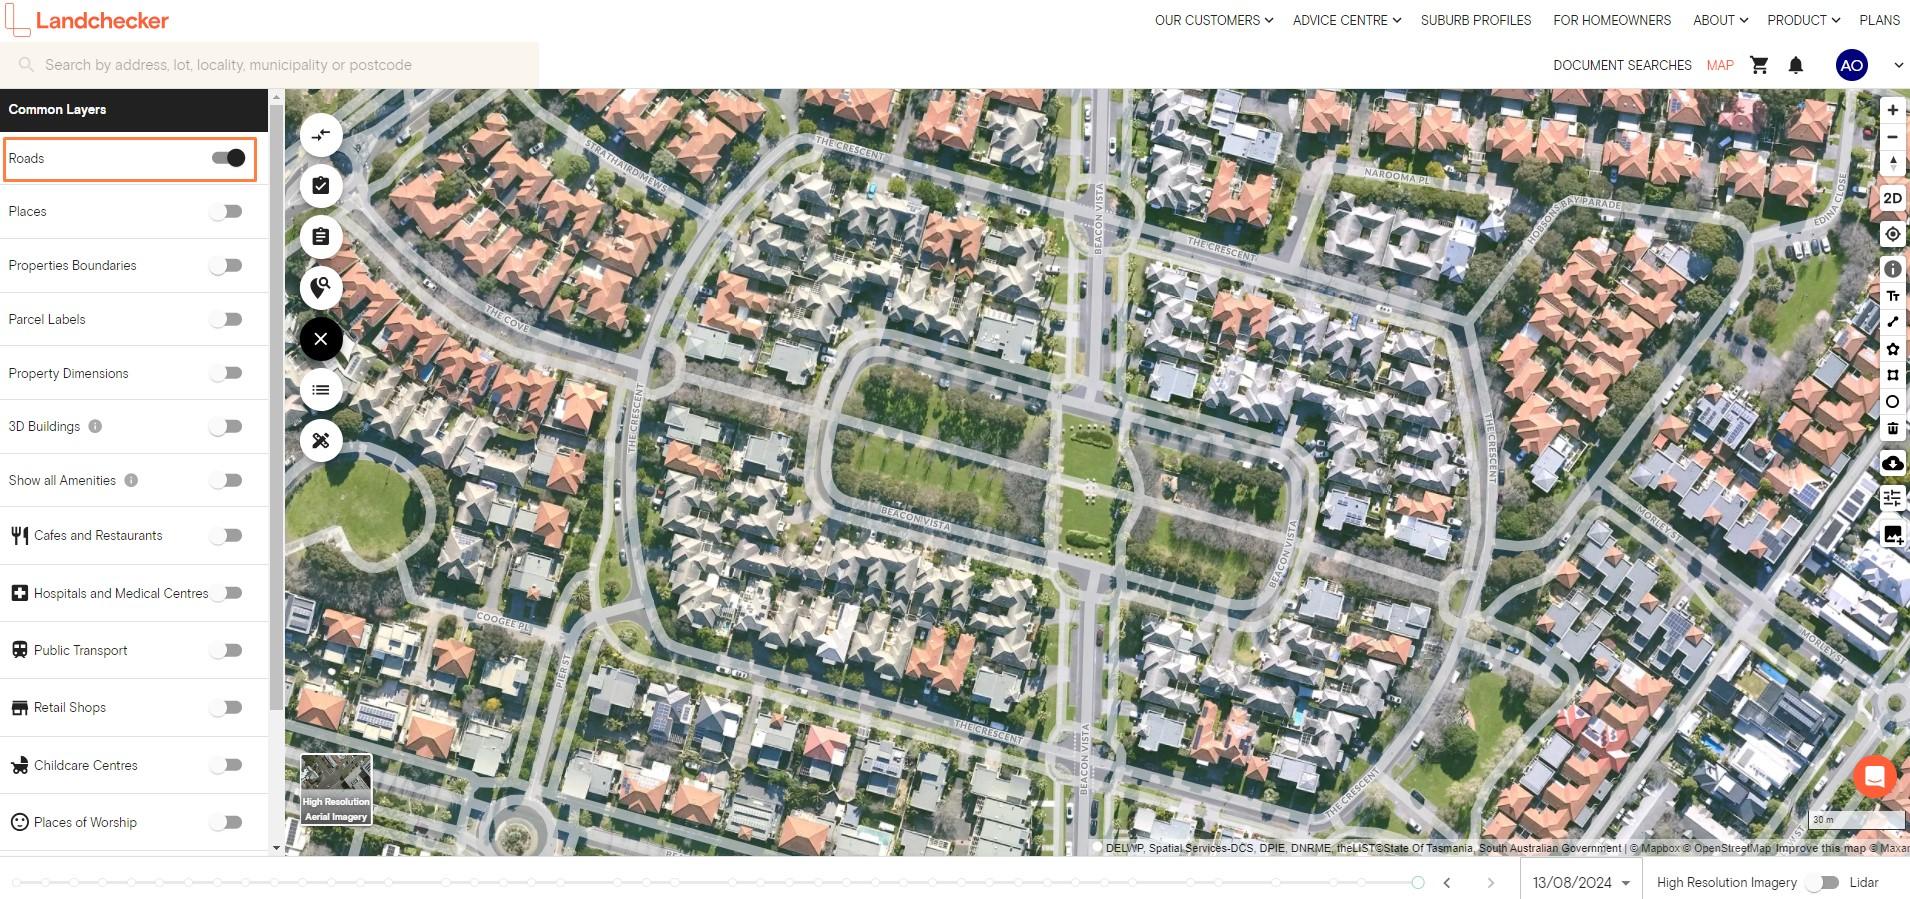
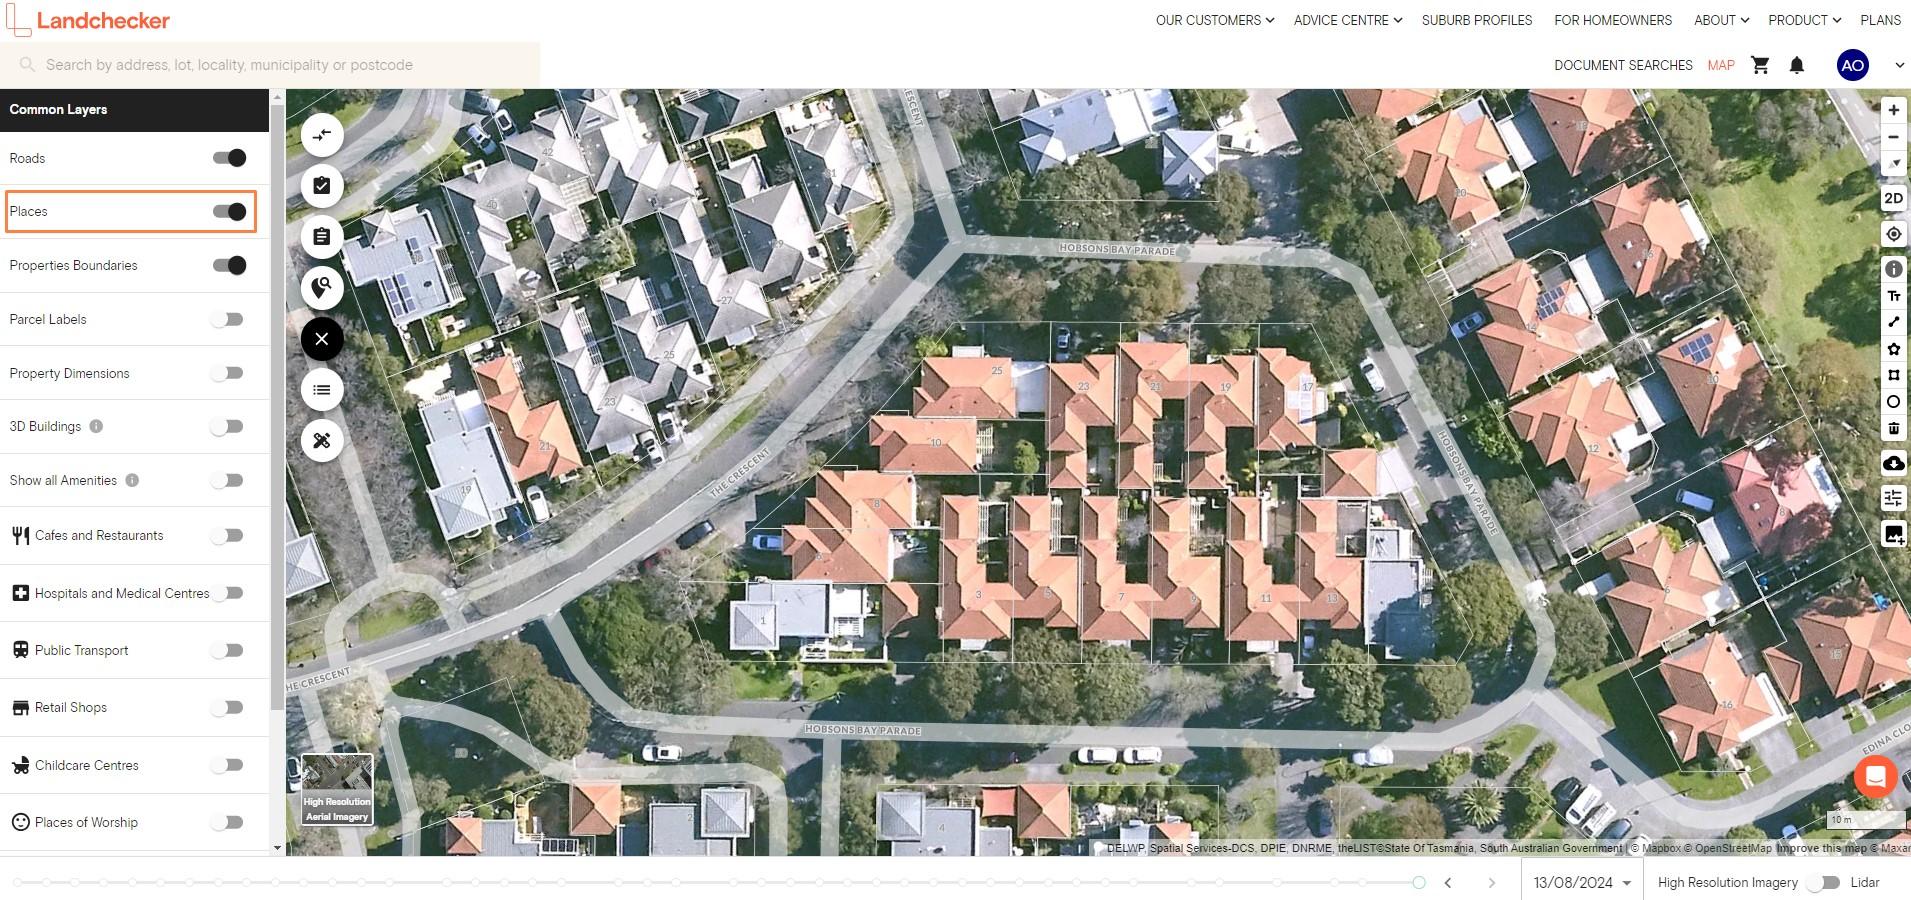
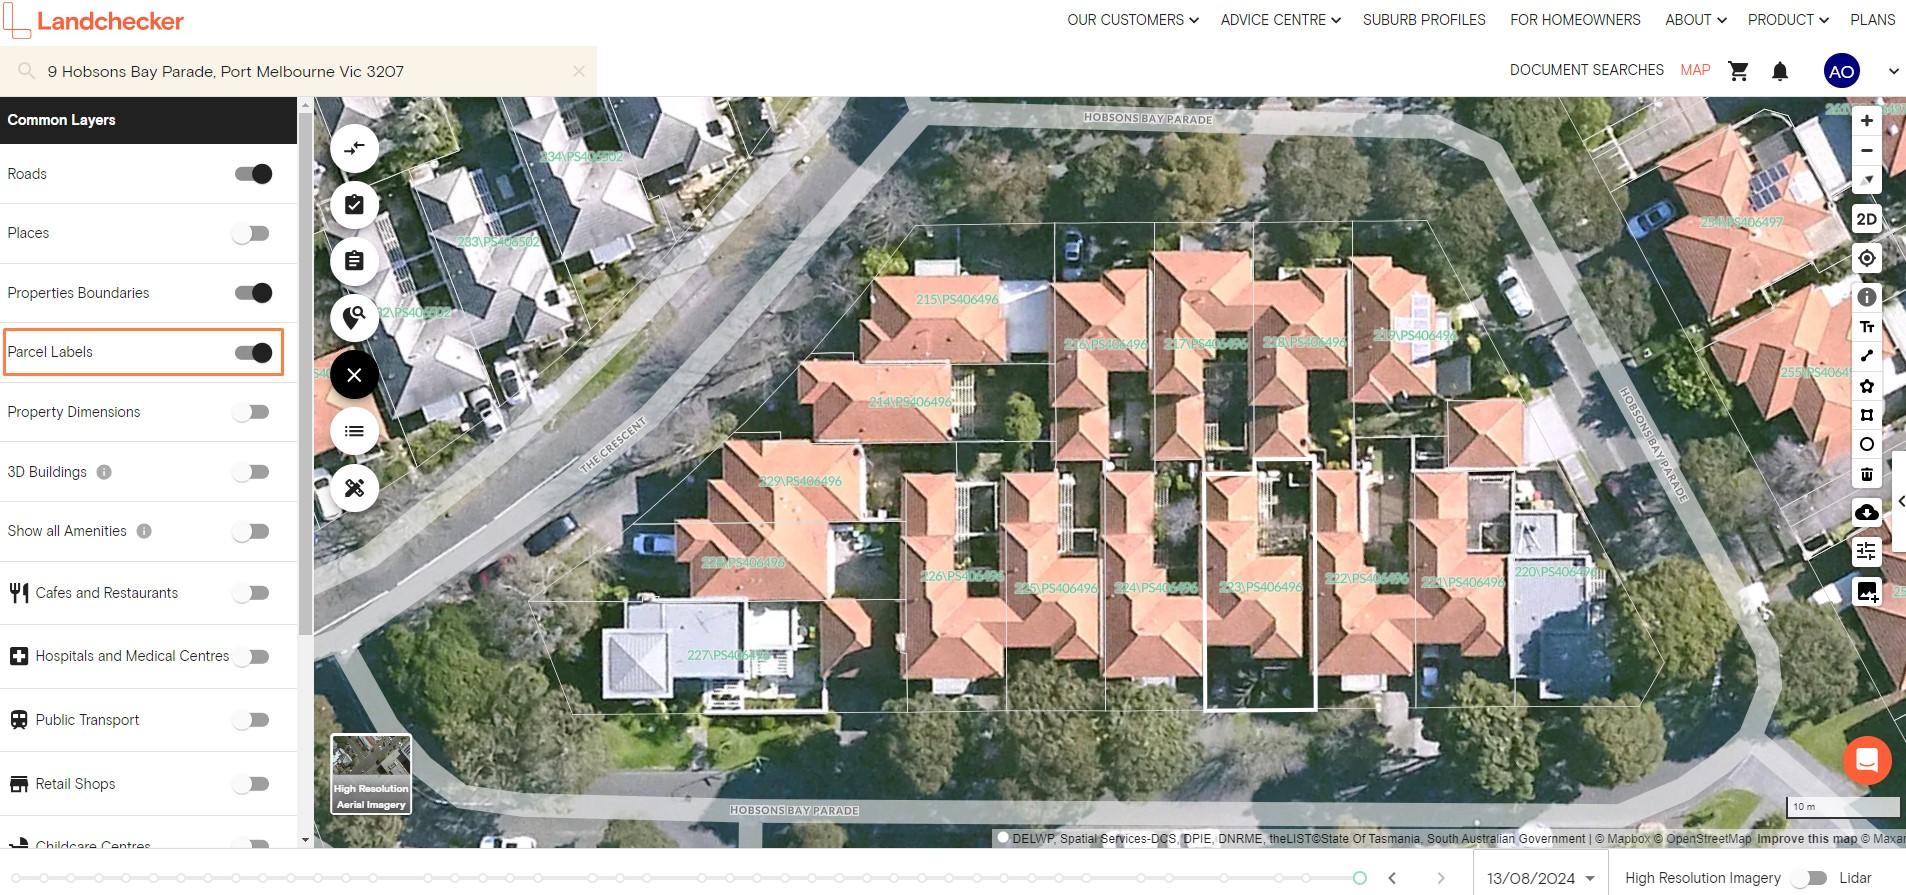
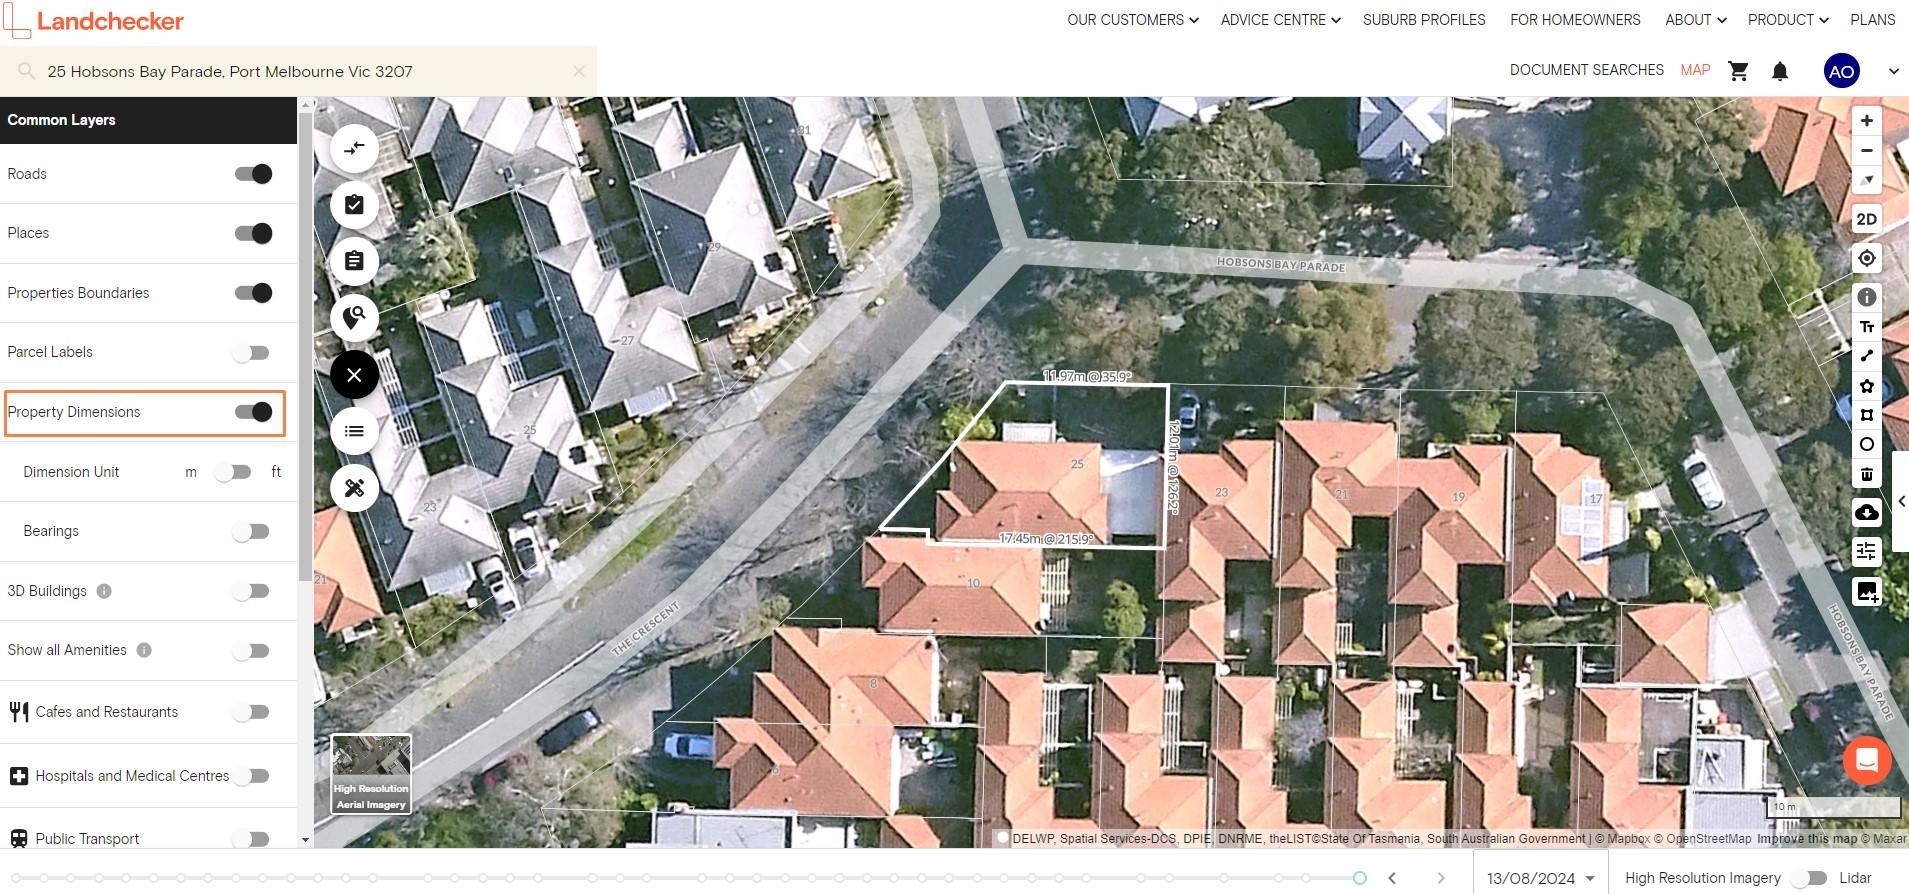
Aside from property boundaries, you can also toggle on other layers to make your map view more comprehensive. You can turn on Roads, Places, Parcel Labels and Property Dimensions.
If you toggle on Roads, a transparent overlay showing the roads, including the road or street name, appears on the map.

Meanwhile, the Places layer shows the street numbers and suburbs.

Parcel Labels enable you to view the property’s lot/plan details from the map.

You can also toggle on and off the property dimensions to display or remove the boundary measurements when a property is selected on the map.

If you want to view roads and places by default while on the high-resolution aerial imagery map view, go to My Account and select Preferences.
In the Preferences tab, scroll down to view the Default High-Resolution Aerial Imagery Layers section.

Tick the checkbox to show roads, places and property boundaries by default. Then click Save Changes to save your new settings.
