Product Help
How to manage business billing
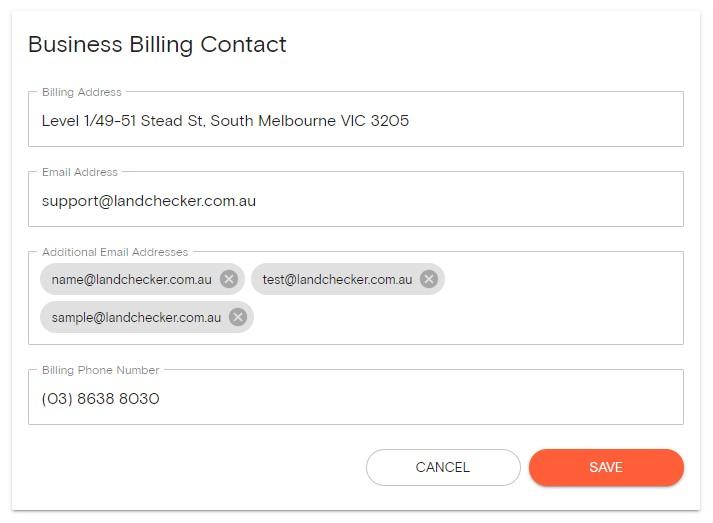
The Business Billing page lets you view and update your billing address, phone number, email address, and credit or debit card. You must be the account or billing admin to view and edit your business billing details.
Here are the steps to update your Landchecker Account's billing details.
Update Billing Address and Phone Number
The billing address should show the current location of your business and will appear on your invoices. You can update this information under the Business Billing page.
1. Click on your Profile in the top right-hand corner of the app and select Business Account
2. Select the Business Billing tab
3. Update your business billing address and/or phone number
4. Click Save
Update or Add Additional Email Addresses for Billing
If you need to send an invoice to multiple addresses, account and billing admins can add additional email addresses under the Business Billing page.
1. Click on your Profile in the top right-hand corner of the app and select Business Account
2. Select the Business Billing tab
3. Update your primary business billing address under the Email Address text box
4. Add additional email addresses. Additional emails should not match the primary email address.

4. Click Save
Manage Credit and Debit Cards
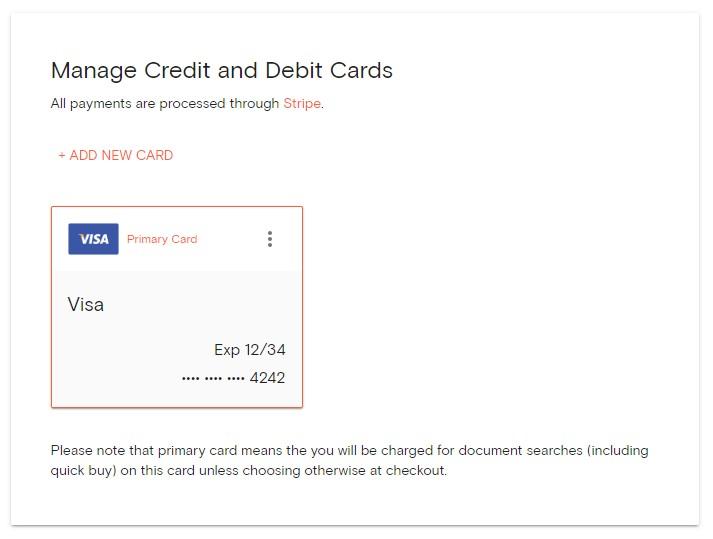
Follow the instructions below for updating your credit or debit card on file.
1. Click on your Profile in the top right-hand corner of the app and select Business Account
2. Select the Business Billing tab
3. Click +Add New Card

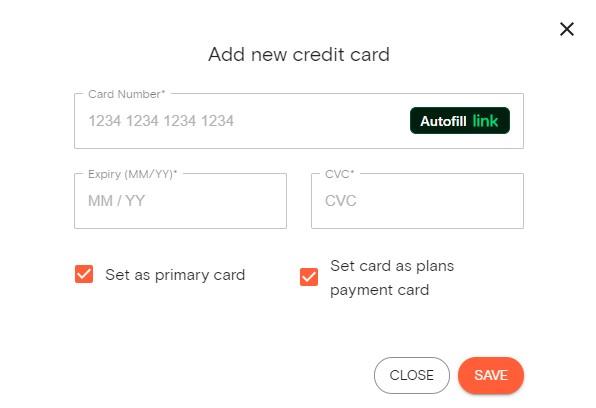
4. Add your new credit card details

5. Tick the checkbox beside ‘Set as primary card’ if you also want the new card charged for document searches (including quick buy) on this card unless choosing otherwise at checkout.
6. Tick the checkbox next to ‘Set card as plans payment card’ if you only want to use the new card as payment for your Plan.
7. Click Save
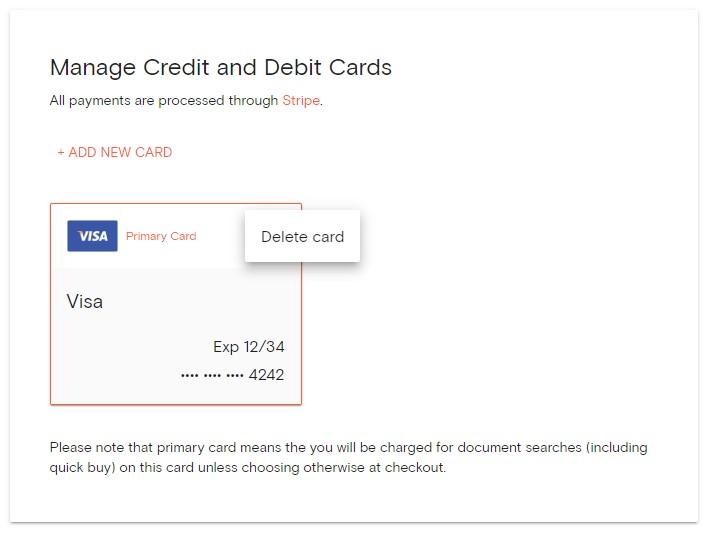
If you want to delete your old credit or debit card on file, click the three-dot button and select Delete.

