
Product Help
How to share a consolidated site saved in a project
Once you've saved a consolidated site into a project, you can share the entire project, including all saved sites, notes, and markups.
You can share a project from the left-hand side projects panel on the map or from the projects dashboard.
Share a project from the left-hand side projects panel
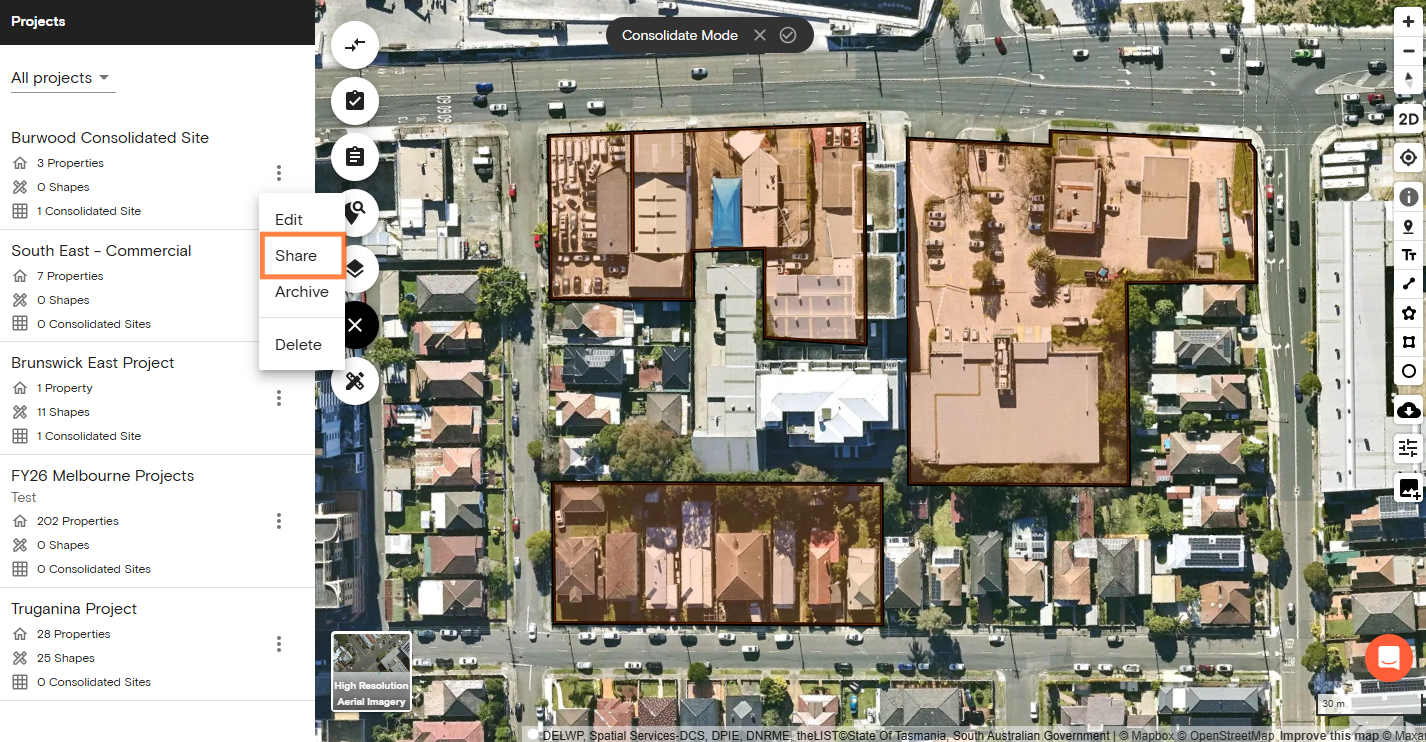
1. Click on the projects icon on the left side menu.
All your existing projects will pop up inside the layers panel.
2. Click on the kebab icon (vertical three dots) beside the project you want to share.
You will be presented with the option to edit, share, archive or delete. Select Share.
3. You will be directed to a new pop-up dialogue, titled Share Project.
From here, select your team member(s) or add the email address of team member(s) as instructed. You can also remove members you no longer want to share with.
4. Click Share to save all edits made.
The invited team member(s) will receive an email letting them know a project was shared with them.
They can click View Project to instantly open and access the shared project in Landchecker.
Share a project from the projects dashboard
1. Click your profile in the top right navigation bar and select Projects.
2. In your project's dashboard, locate the project that contains your consolidated site.
3. On the right side of the project name, click the three-dot menu and select Share. You can also find a share button within the project.
Related articles:
How to combine sites using Site Consolidation
How to save consolidated sites to a project
How to download a consolidated report
How to rename or delete consolidated sites saved in a project