
Product Help
How to save consolidated sites to a project
Save your consolidated sites to a project to organise them, access them anytime, and share with team members for collaboration.
Saving a consolidated site to a project also enables you to download a consolidated site report.
How to save a consolidated site to a project
1. After creating a consolidated site, click the Save to Project button on the right-hand side panel.
2. Select an existing project, or click Create New Project to start fresh. Then click Submit.
Your consolidated site is now saved and accessible through the Projects panel on the left-hand side and Projects dashboard.
Upgrade today to consolidate sites
With Advanced or Enterprise, you can view the consolidated land size, frontage, orientation and zoning of your selected properties.
How to view saved consolidated sites
You can access your saved consolidated sites in two ways:
Method 1: Projects panel (map view)
Click the projects icon at the bottom of the layers panel on the left side of your screen
Select the project containing your consolidated sites
Click the Consolidated Sites tab
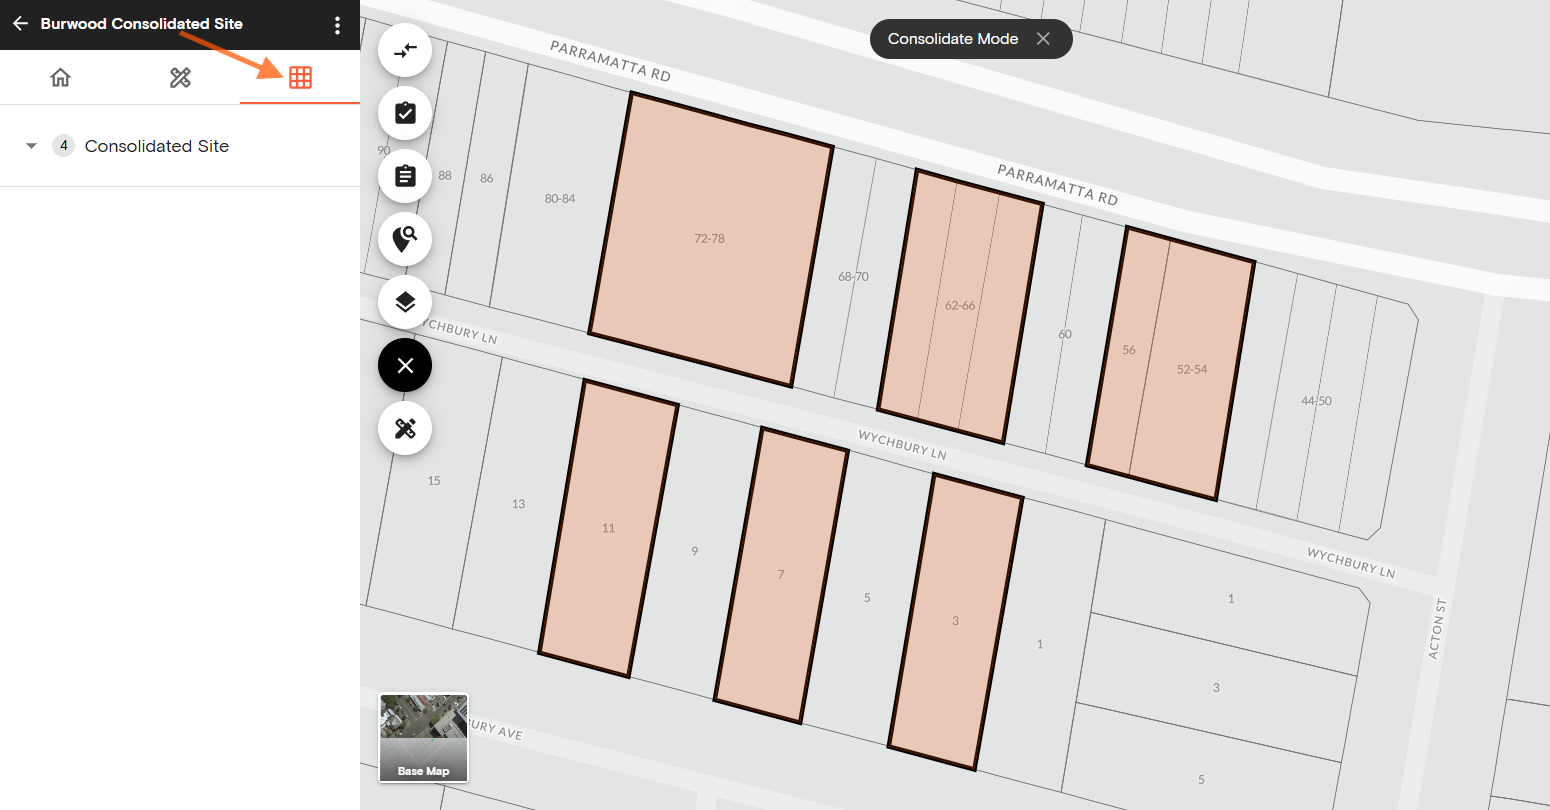
Click any consolidated site in the list to view its details on the right-hand side panel
What you'll see:
Consolidated land size
Frontage
Orientation
Zoning information
Lot and plan details
View report button
If no consolidated sites exist, you'll see an empty state message prompting you to create one.
Method 2: Projects dashboard
Click your profile in the navigation bar
Select Projects from the drop-down menu
Click the project name you want to view
Scroll to the Consolidated Sites section at the bottom of the page
How to manage consolidated sites saved in a project
From the Projects panel (map view):
Rename a consolidated site: Click the three-dot button and select rename
Delete a consolidated site: Click the three-dot button and select delete
View report: Click the View Report button on the right-hand side panel
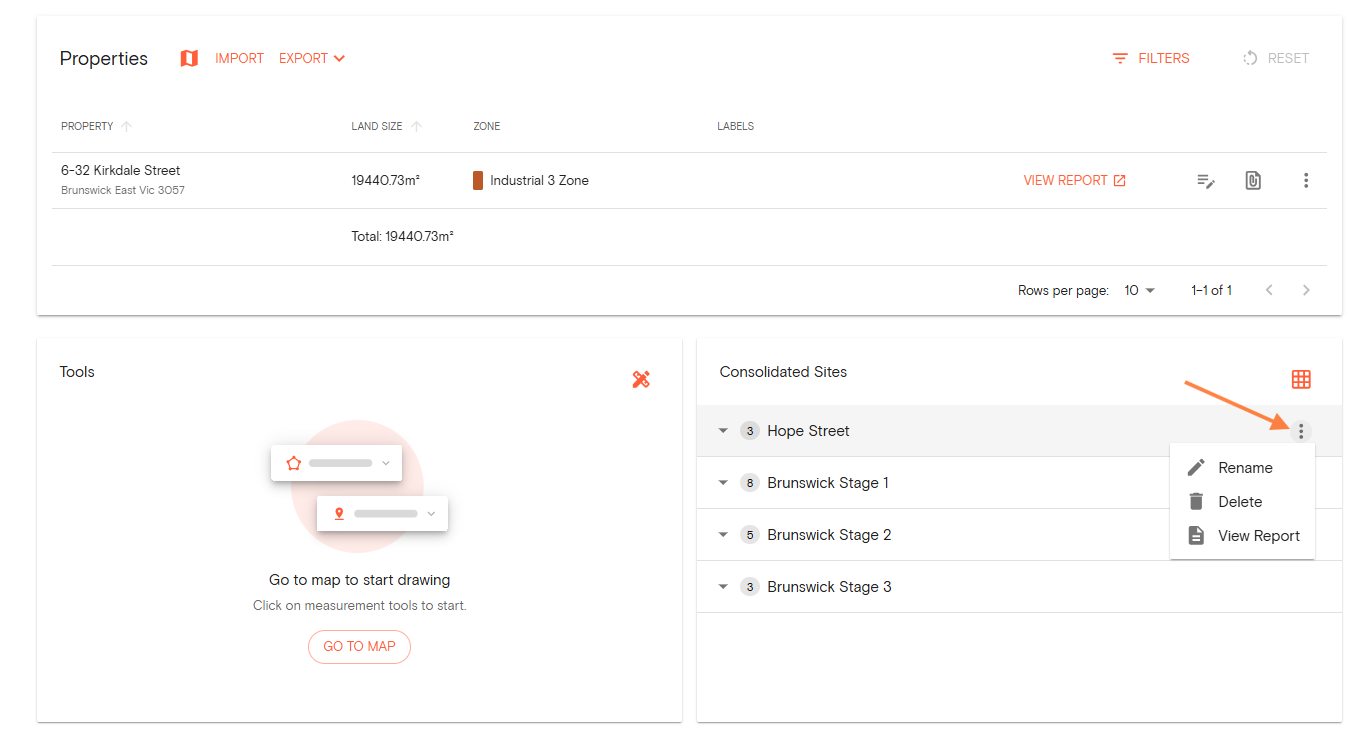
From the Projects dashboard:
Rename a consolidated site: Click the three-dot button and select rename
Delete a consolidated site: Click the three-dot button and select delete
View report: Click the three-dot button and select view report
View on map: Click the consolidated site icon (located above the three-dot button)
Related articles:
How to download a consolidated report
How to rename or delete consolidated sites saved in a project
How to combine sites by using Site Consolidation