
Product Help
How to adjust the opacity of a planning layer
Control how prominently a planning layer appears on the map by adjusting its opacity level, so you can view the underlying map detail alongside the layer data.
What plans have access to this feature?
Adjusting the opacity of planning layers is available on Advanced and Enterprise plans only. To upgrade, visit our plans page.
How do I adjust the opacity of a planning layer?
To adjust the opacity of a planning layer:
1. Click Planning Layers on the left-hand side of the map.
2. Tick the checkbox next to the layer group you want to display (for example, Planning Zones). The layer will become active, and an opacity slider will appear below the layer group name.
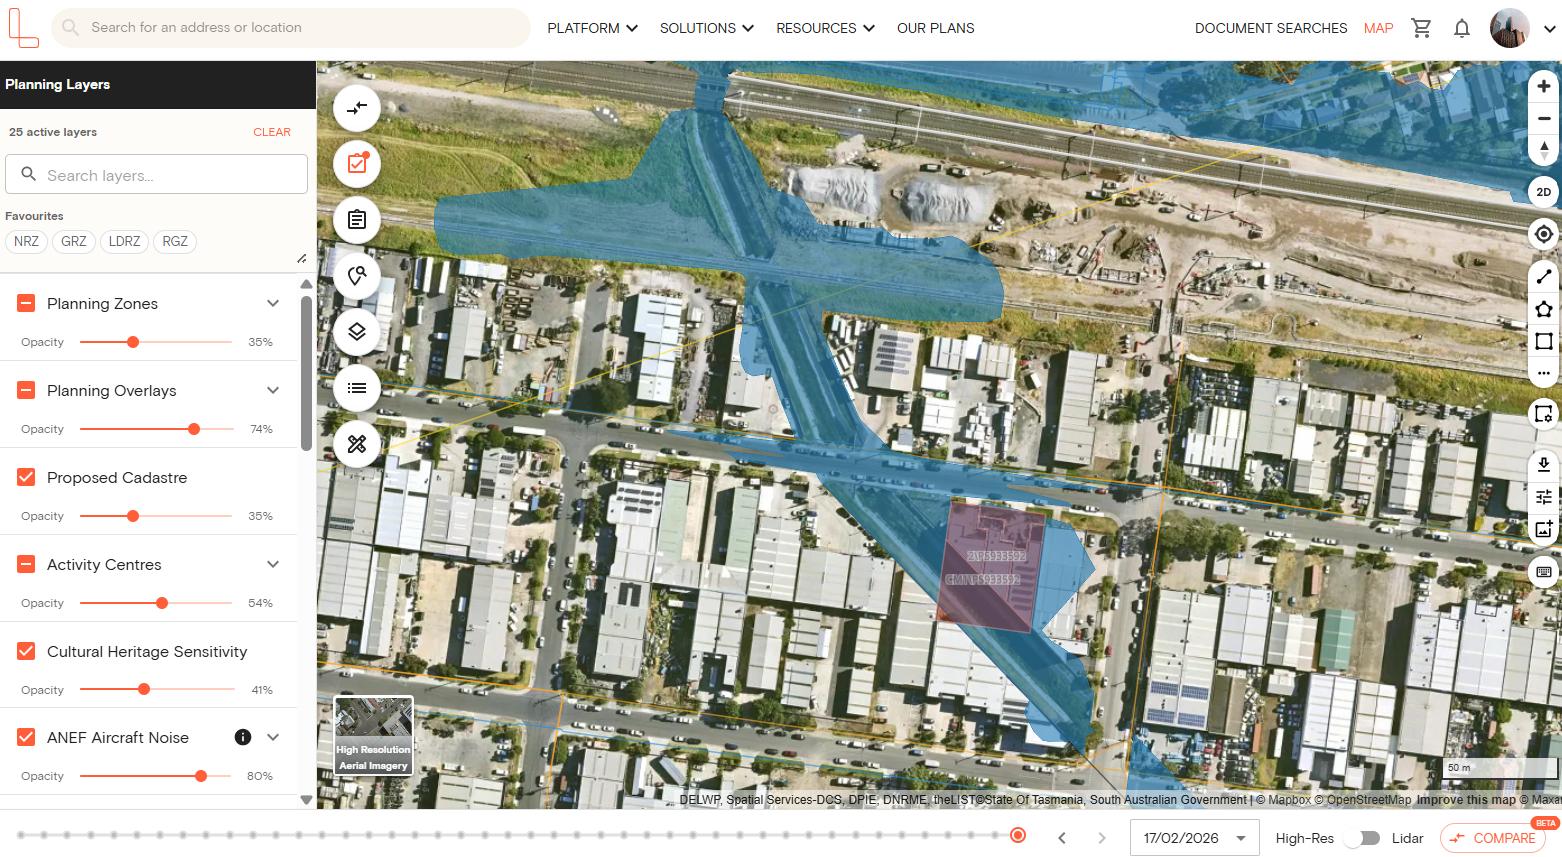
3. Click and drag the slider left to make the layer more transparent, or right to make it more opaque.
4. The percentage shown to the right of the slider reflects the current opacity level
The opacity setting applies to all layers within that group. For example, adjusting the opacity under Planning Zones will affect all active zone layers displayed on the map.
Can I adjust opacity for multiple layer groups at the same time?
Yes. Each layer group has its own independent opacity slider. You can activate multiple layer groups and adjust their opacity levels separately.
For example, you can activate Planning Zones, Planning Overlays, Hazards, and Easements at the same time, and set a different opacity level for each — so each layer remains visible and distinguishable on the map.
If you need help adjusting the planning layer opacity, get in touch with our team using the live chat in the Landchecker platform.